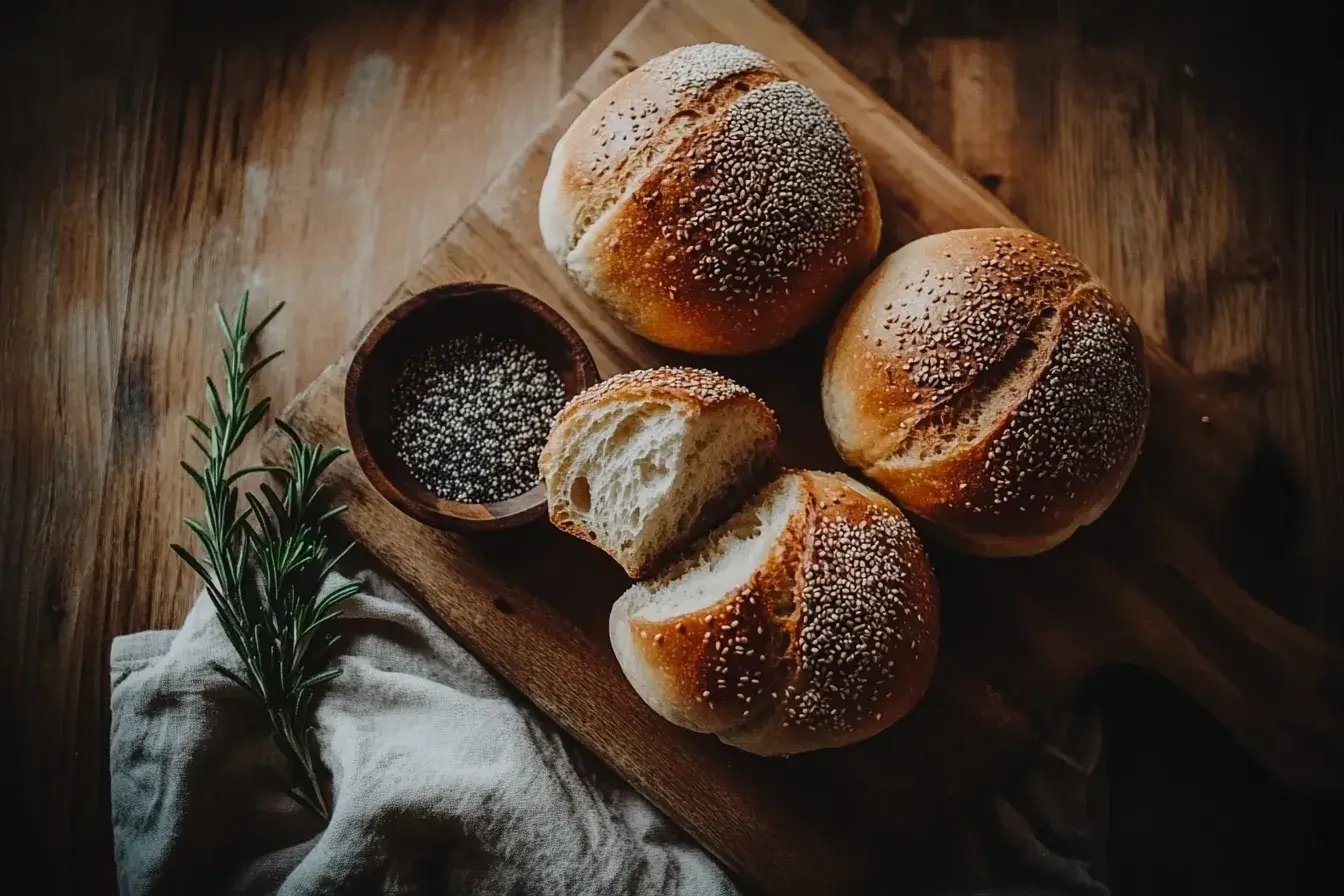
The Kaiser roll is more than just bread; it’s a delightful piece of European baking history that continues to captivate bread lovers worldwide. Originating in Austria, this iconic roll is cherished for its signature spiral or star-shaped design, as well as its perfect balance of soft-yet-crusty texture. Over the years, Kaiser rolls have become staples in German and Austrian households, traditionally served with breakfast spreads or hearty sandwiches.
Fast forward to today, and these rolls have gained immense popularity here in the U.S. In fact, they’ve become the go-to choice for deli-style sandwiches and burgers. Their chewy interiors paired with slightly crunchy exteriors make them ideal for holding a variety of fillings without falling apart. Personally, my love affair with Kaiser rolls began during a memorable trip to Vienna. Every breakfast table seemed incomplete without a basket of these golden, spiral beauties, and it was love at first bite.
And now, I’m thrilled to guide you through the process of recreating these bakery-style rolls in your own kitchen. With the right techniques and a little patience, you’ll be enjoying the irresistible aroma of fresh Kaiser rolls before you know it!
What Makes a Great Kaiser Roll?
Contents
- 1 What Makes a Great Kaiser Roll?
- 2 Ingredients You’ll Need
- 3 Step-by-Step Instructions for Perfect Kaiser Rolls
- 4 Tips for Kaiser Roll Success
- 5 Serving Ideas for Kaiser Rolls
- 6 Storage and Freezing Tips
- 7 FAQs About Kaiser Rolls
- 8 How to Make Perfect Kaiser Roll at Home
- 9 Conclusion: Your Turn to Bake Like a Pro
A great Kaiser roll is all about balance—fluffy and tender on the inside with a thin, crunchy crust that holds up to any filling. Here’s what sets them apart:
- Signature Spiral Design: Created with a Kaiser roll stamp or by hand using the knot method, the design is the roll’s hallmark.
- Texture: A soft, chewy interior paired with a golden-brown crust.
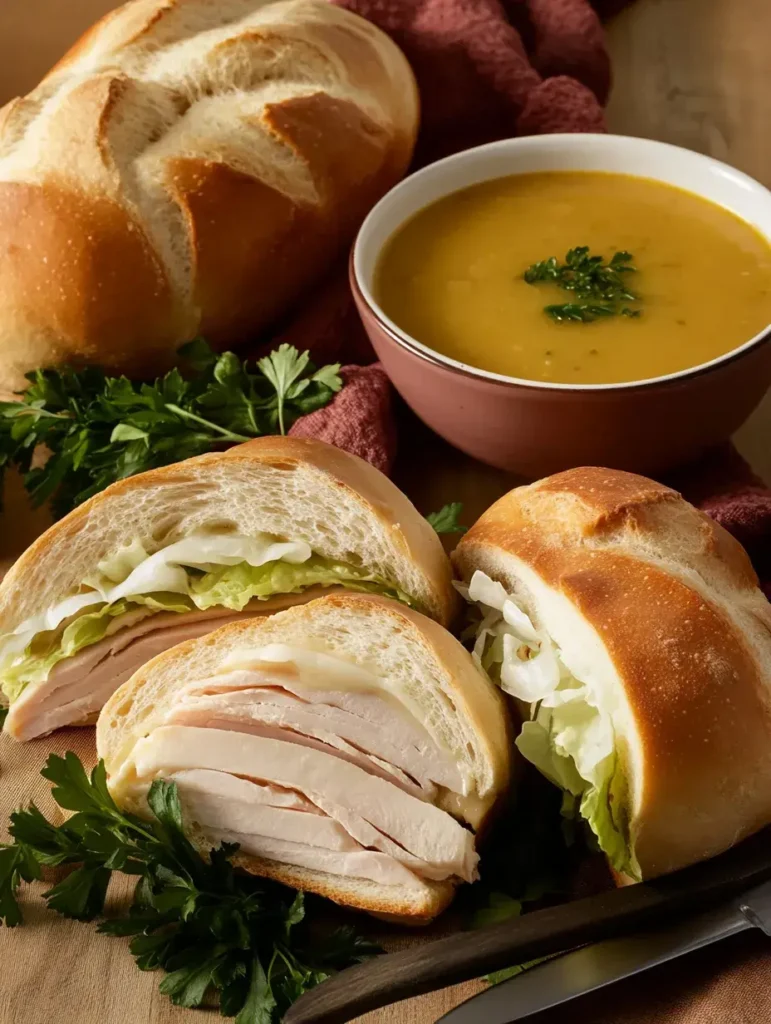
- Versatility: Perfect for sandwiches, breakfast rolls, or served alongside a steaming bowl of soup.
- Toppings: Often finished with sesame or poppy seeds, adding flavor and a touch of elegance.
Ingredients You’ll Need
For the Dough:
- 3 ½ cups all-purpose flour or bread flour (bread flour adds more chewiness).
- 2 ¼ teaspoons instant yeast.
- 1 tablespoon sugar.
- 1 ½ teaspoons salt.
- 1 large egg.
- 4 tablespoons unsalted butter, softened.
- 1 cup lukewarm water.
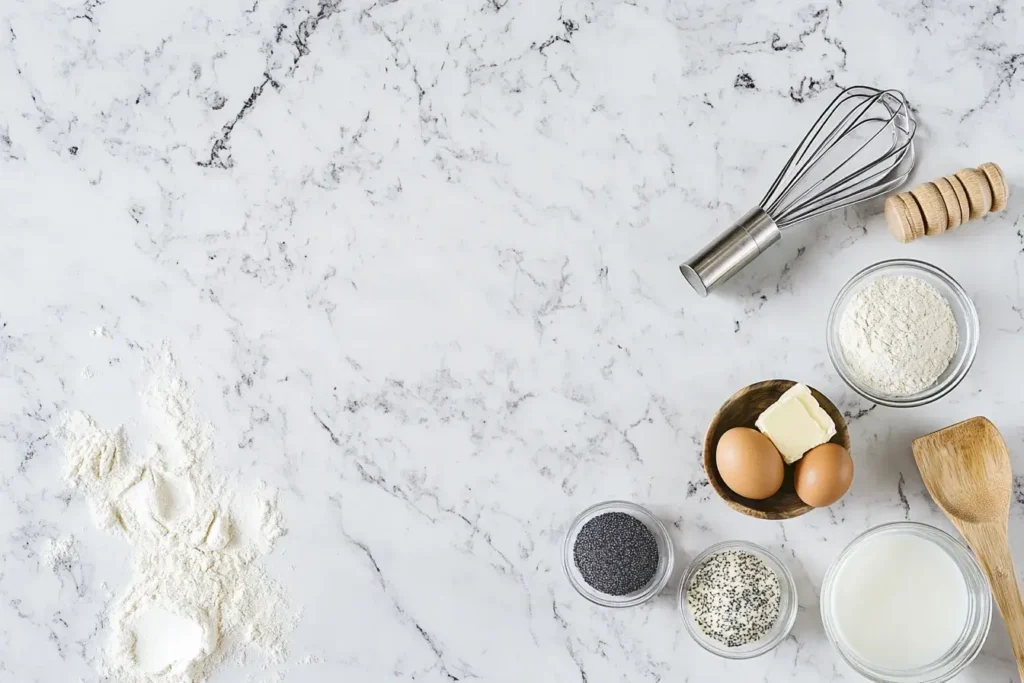
For the Topping:
- 2 tablespoons milk (for brushing).
- Sesame seeds or poppy seeds for sprinkling.
Pro Tip: Want an authentic crunch? Substitute ¼ cup of flour with rye flour or bake with steam by placing a pan of hot water in the oven.
Step-by-Step Instructions for Perfect Kaiser Rolls
1. Mixing the Dough
Combine flour, yeast, sugar, and salt in a large mixing bowl. Add the egg, butter, and lukewarm water. Mix until the dough comes together, then knead for about 5–7 minutes in a stand mixer with a dough hook attachment.
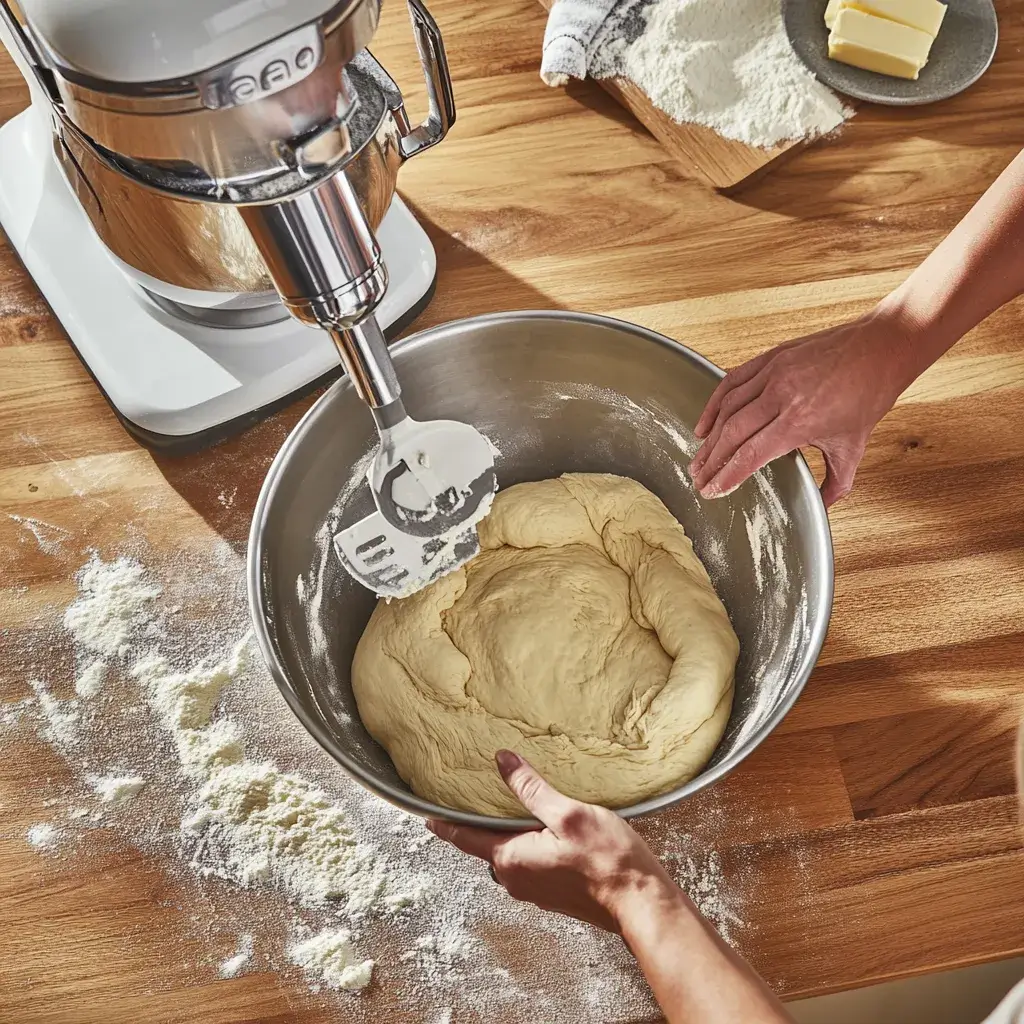
Here’s the trick: Knead the dough until it’s smooth and slightly elastic. This step is crucial for achieving that fluffy texture inside.
2. Let It Rise
Transfer the dough to a greased bowl, cover it with a clean kitchen towel, and let it rise for about an hour in a warm place.
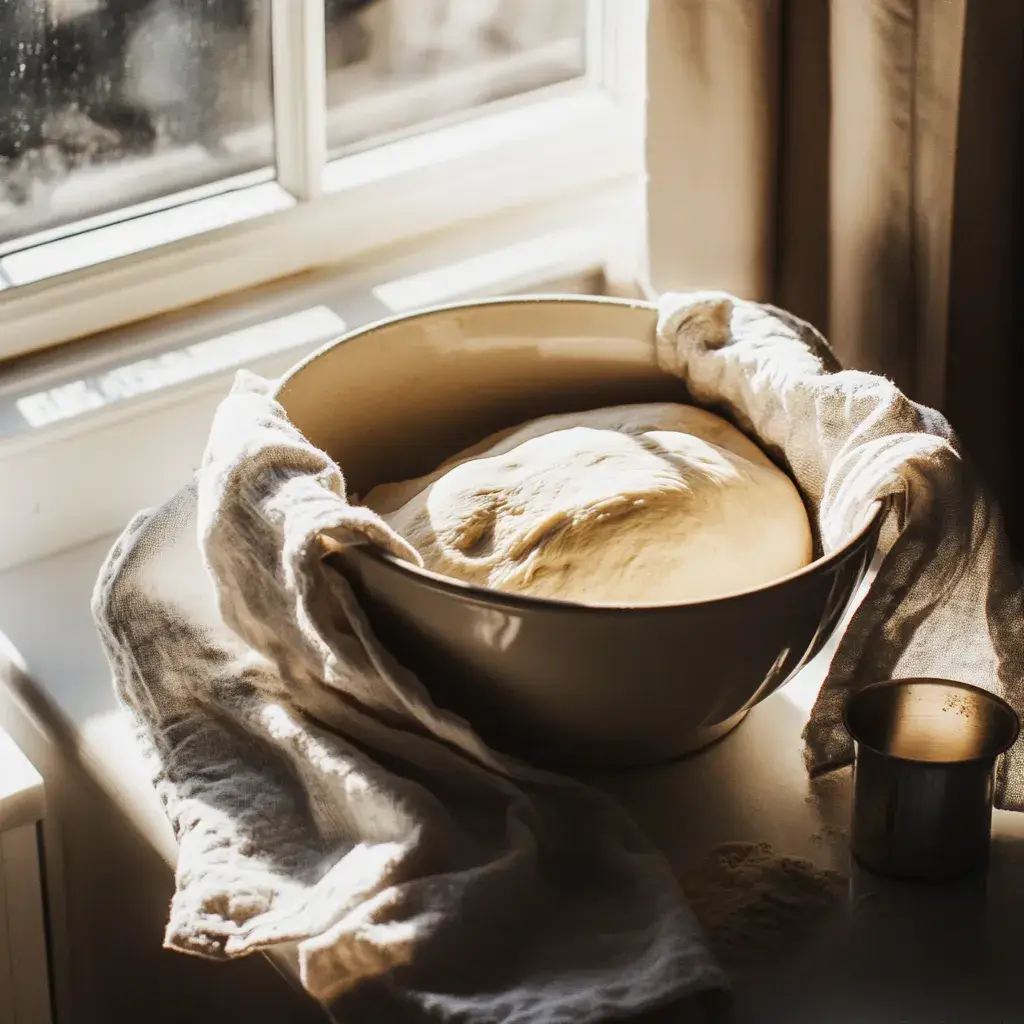
Key Tip: The dough should double in size. If it doesn’t, check if your yeast is fresh or if the room temperature is warm enough (ideally 75–80°F).
3. Shaping the Rolls
- Divide the dough into six equal pieces (about 4 ounces each).
- Roll each piece into a smooth ball.
- Use a Kaiser roll stamp to press the signature design into each roll. Alternatively, shape by hand using the knot method for a more rustic appearance.
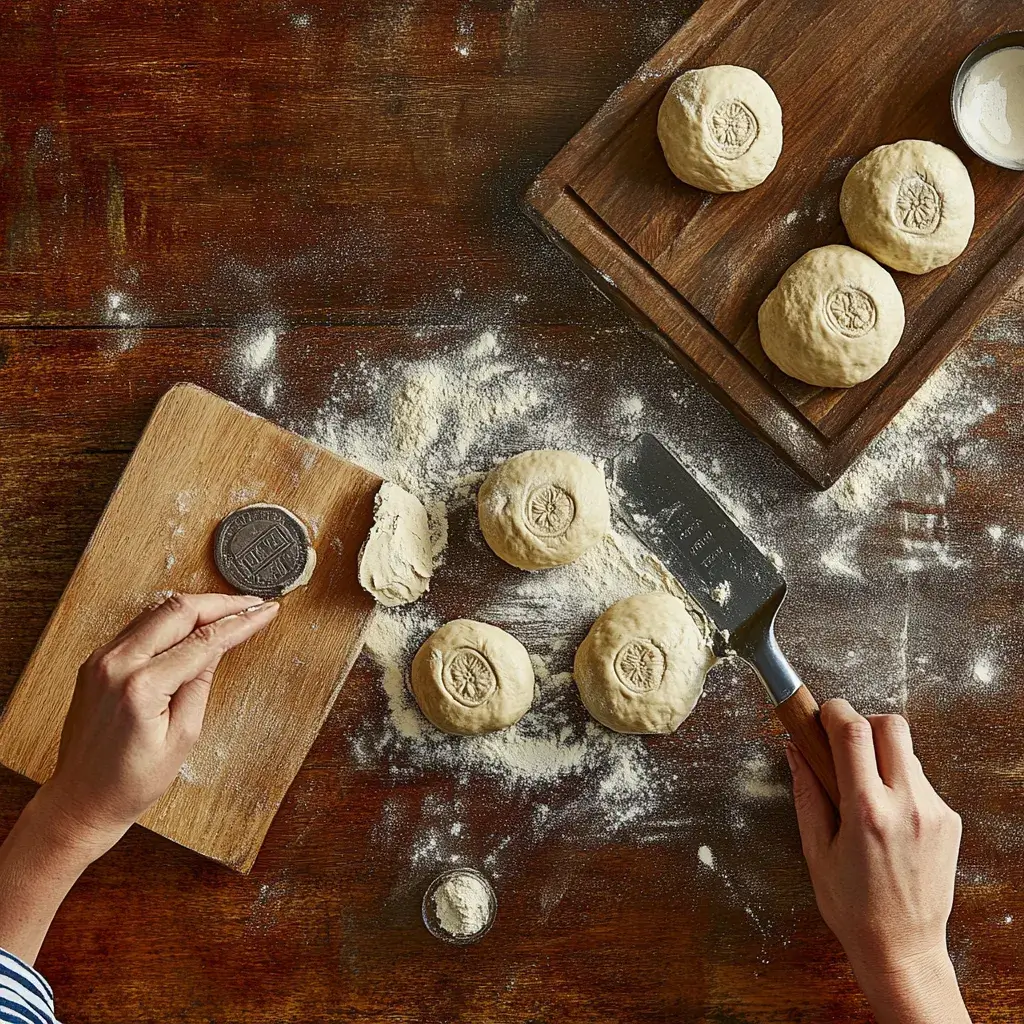
Optional: Hand shaping adds a homemade, artisanal touch that’s just as beautiful as the stamped design.
4. Second Rise
Place the rolls spiral-side down on a parchment-lined baking sheet. Cover them loosely with plastic wrap or a damp towel and let them rise again for 45–60 minutes.
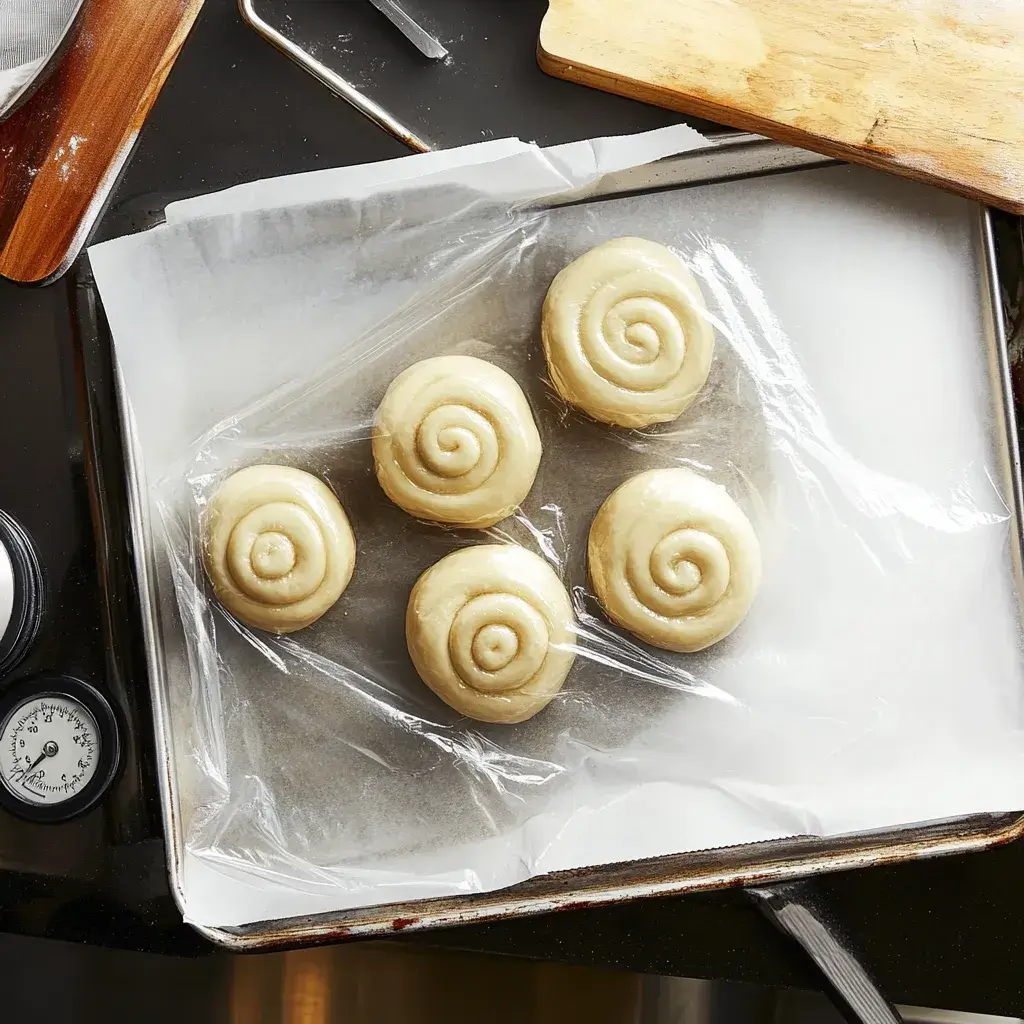
Important: This second rise is non-negotiable. It allows the rolls to become airy and light before baking.
5. Topping and Baking
- Flip the rolls spiral-side up. Brush them lightly with milk, then sprinkle generously with sesame or poppy seeds.
- Preheat your oven to 425°F. For a crustier roll, place a shallow pan of hot water on the bottom rack of the oven to create steam.
- Bake the rolls for 15–17 minutes, or until they turn a rich golden brown.
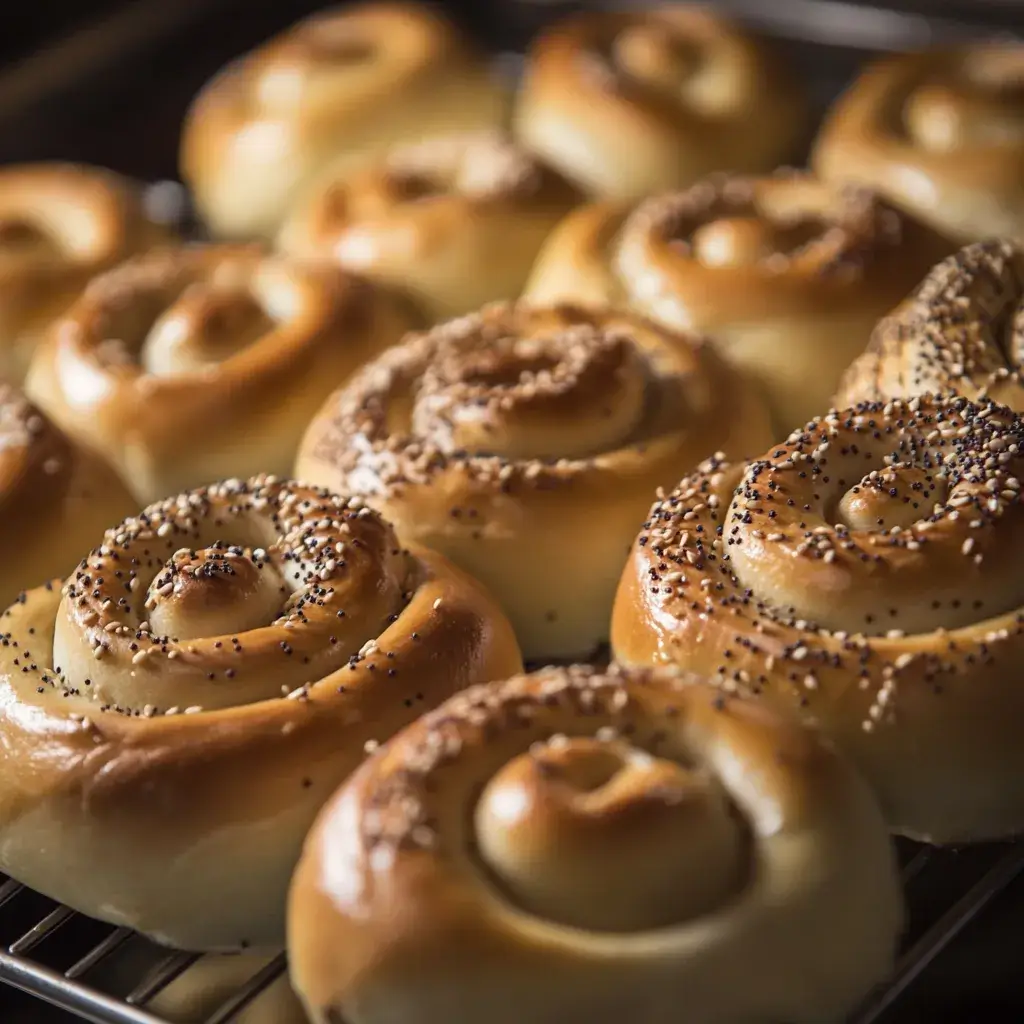
Pro Tip: For that perfect bakery-style finish, rotate the baking sheet halfway through baking to ensure even coloring.
Why Homemade Kaiser Rolls Are Worth the Effort
Making Kaiser rolls at home lets you control everything—from the texture to the topping. Unlike store-bought versions, these rolls are free of preservatives, offering fresher flavor and better quality. Plus, there’s nothing quite like the smell of fresh-baked bread filling your kitchen.
Tips for Kaiser Roll Success
Now that you’ve got the basics down, let’s go over some tried-and-true tips to guarantee your Kaiser rolls turn out just right. Baking bread can sometimes feel tricky, but these tips will help smooth out the process.
1. Troubleshooting Rising Issues
If your dough doesn’t rise as expected, it’s usually a problem with the yeast or temperature.
- Check the yeast: Make sure your yeast is fresh. Expired yeast often won’t activate properly.
- Warm environment: Dough loves a cozy spot. Try placing the bowl near a warm oven or using a proofing box.
Here’s a trick: If your kitchen is cold, heat your oven to 200°F, turn it off, and let the bowl sit inside with the door slightly ajar.
2. High-Altitude Baking Adjustments
Baking at high altitudes requires slight changes to your recipe.
- Use slightly less yeast to prevent over-proofing.
- Add a bit more water to counteract the dryness in higher elevations.
Pro Tip: Monitor your dough closely—it may rise faster than usual!
3. Achieving an Extra Crunchy Crust
If you love the traditional Austrian crunch, these tips are for you:
- Swap milk for water when brushing the rolls before baking.
- Add steam to the oven by placing a shallow pan of hot water on the bottom rack.
- Bake the rolls for an extra 2–3 minutes, keeping a close eye to avoid over-browning.
This makes all the difference: Steam creates a shiny, crisp crust that’s bakery-level good.
Serving Ideas for Kaiser Rolls
One of the best things about Kaiser rolls is their incredible versatility. Whether you’re planning a breakfast feast, a quick lunch, or a hearty dinner, these rolls can be dressed up or kept simple. Let’s dive into a few creative ways to enjoy them throughout the day.
1. Breakfast
Start your day with a Kaiser roll toasted to golden perfection. The warm, crusty exterior and soft interior make them ideal for any breakfast spread.
- Spread with butter and jam for a classic morning treat that’s quick and satisfying.
- Stuff with scrambled eggs, bacon, and cheese for a hearty breakfast sandwich that keeps you fueled all morning.
- For a European-inspired start, pair your roll with a strong cup of coffee and enjoy the simplicity of fresh bread.
For more breakfast inspiration, check out European-Inspired Breakfast Dishes.
2. Lunch
Kaiser rolls truly shine as sandwich rolls, providing the perfect sturdy base for all your favorite fillings.
- Pile high with turkey, lettuce, tomato, and cheese for a deli-inspired sandwich that’s always a crowd-pleaser.
- Go vegetarian with hummus, roasted veggies, and a drizzle of balsamic glaze for a refreshing, healthy option.
- Add sliced avocado and grilled chicken for a protein-packed lunch that’s both delicious and satisfying.
3. Dinner
Kaiser rolls are perfect for dinner, whether you use them as a side or the main attraction.
Make It Your Own!
Kaiser rolls are as versatile as they are delicious. Experiment with toppings, fillings, or even pairings to find your favorite way to enjoy them. Whether you’re dipping into a bowl of hearty soup or crafting the perfect sandwich, these rolls are always up for the task.
Discover more bread recipes like Vegan Jalapeño Cheese Artisan Bread to expand your baking repertoire.
With so many options, there’s no wrong way to enjoy Kaiser rolls. Their rich history and universal appeal make them a timeless addition to any meal.
Storage and Freezing Tips
You’ve worked hard to bake these beautiful rolls, so let’s make sure they stay fresh! Proper storage is key to maintaining their flavor and texture.
1. Short-Term Storage
Keep your rolls in an airtight container at room temperature for 2–3 days.
- Avoid refrigeration, as it can dry out the bread.
- Warm them in the oven at 350°F for a few minutes to restore their soft texture.
2. Long-Term Freezing
Kaiser rolls freeze beautifully, making them a great make-ahead option.
- Wrap each roll individually in plastic wrap to prevent freezer burn.
- Store them in a resealable freezer bag for up to 3 months.
When you’re ready to enjoy, thaw at room temperature or reheat in the oven at 350°F for 10–12 minutes.
Bonus Tip: Freeze leftover rolls immediately after they cool to lock in freshness.
FAQs About Kaiser Rolls
Let’s answer some common questions about Kaiser rolls to clear up any lingering doubts and help you appreciate these iconic breads even more.
1. What makes it a Kaiser roll?
A Kaiser roll is best known for its signature spiral or star-shaped design on top, which is usually made using a Kaiser roll stamp or by knotting the dough by hand. This unique design isn’t just for looks—it’s part of what makes a Kaiser roll special. These rolls are famous for their slightly crunchy crust on the outside and their soft, chewy texture inside, making them an excellent choice for sandwiches or breakfast spreads. They originally came from Austria and are named after Emperor Franz Joseph I. In fact, the word “Kaiser” means “emperor” in German, which adds a touch of history to this delicious bread.
2. What is the difference between a Kaiser roll and a bun?
While both are types of bread rolls, a Kaiser roll stands out due to its unique shaping and crusty exterior. Unlike a standard bun, which tends to have a soft, smooth top, Kaiser rolls feature a distinct spiral or star pattern. They also have a slightly denser texture, making them ideal for hearty fillings, whereas buns are often softer and more delicate, typically used for burgers or light sandwiches.
3. Why are Kaiser rolls so good?
Kaiser rolls are beloved for their perfect balance of textures and flavors. The crust provides a satisfying crunch, while the inside remains fluffy and tender. Topped with sesame or poppy seeds, they offer a subtle nutty flavor that enhances both sweet and savory fillings. Plus, their robust structure means they won’t easily fall apart, no matter how stacked your sandwich is!
4. What do you put on a Kaiser roll?
The possibilities are endless!
- For breakfast: Butter and jam, cream cheese, or scrambled eggs with bacon.
- For lunch: Deli meats, cheeses, lettuce, and tomato make for a classic sandwich.
- For dinner: Use as a burger bun or serve alongside soups and stews.
- For a snack: Try spreading some peanut butter and honey for a quick energy boost.
How to Make Perfect Kaiser Roll at Home
Fluffy and crusty Kaiser rolls with a signature spiral design, perfect for sandwiches, breakfast, or as a side to soups and stews. These classic European rolls are easy to make at home, with simple ingredients and step-by-step instructions for bakery-quality results.
- Prep Time: 20 minutes
- Cook Time: 16 minutes
- Total Time: 36 minutes
- Yield: 6 rolls 1x
- Category: Bread
- Method: Baking
- Cuisine: Austrian/German
- Diet: Vegetarian
Ingredients
For the Dough:
- 3 ½ cups all-purpose flour or bread flour
- 2 ¼ teaspoons instant yeast
- 1 tablespoon sugar
- 1 ½ teaspoons salt
- 1 large egg
- 4 tablespoons unsalted butter, softened
- 1 cup lukewarm water
For the Topping:
- 2 tablespoons milk
- Sesame seeds or poppy seeds
Instructions
Mix the Dough:
Combine flour, yeast, sugar, and salt in a large mixing bowl. Add the egg, butter, and lukewarm water. Mix until the dough forms, then knead for 5–7 minutes in a stand mixer with a dough hook attachment or by hand until smooth and elastic.First Rise:
Place the dough in a greased bowl, cover it with a clean kitchen towel, and let it rise for about an hour in a warm spot until it doubles in size.Shape the Rolls:
Divide the dough into six equal pieces (about 4 ounces each). Roll each piece into a ball. Use a Kaiser roll stamp to press the spiral design or hand-knot for a traditional look.Second Rise:
Place rolls spiral-side down on a parchment-lined baking sheet. Cover and let them rise for 45–60 minutes.Topping and Baking:
Preheat the oven to 425°F. Flip the rolls spiral-side up, brush them lightly with milk, and sprinkle with sesame or poppy seeds. Bake for 15–17 minutes until golden brown.
Notes
- For extra crunch, bake with steam by placing a shallow pan of hot water in the oven.
- Substitute ¼ cup of the flour with rye flour for an authentic crusty texture.
- Overnight refrigeration of the dough enhances flavor and creates a better crust.
Nutrition
- Serving Size: 1 roll
- Calories: 230
- Sugar: 2g
- Sodium: 350mg
- Fat: 6g
- Saturated Fat: 3g
- Unsaturated Fat: 3g
- Trans Fat: 0g
- Carbohydrates: 35g
- Fiber: 2g
- Protein: 7g
- Cholesterol: 30mg
Keywords: Kaiser roll, homemade Kaiser rolls, sandwich buns, traditional German rolls, artisan bread
Conclusion: Your Turn to Bake Like a Pro
Making Kaiser rolls at home is not only fun but also a wonderfully rewarding way to bring bakery-quality bread right into your own kitchen. From their iconic spiral design to the perfectly balanced crunch and fluffy texture, these rolls are guaranteed to impress at any meal. Whether you’re piling them high with deli meats for a savory sandwich or enjoying them simply with butter and jam at breakfast, Kaiser rolls are incredibly versatile and always satisfyingly delicious.
But here’s the best part: the process is just as enjoyable as the final product. So, why wait? First, gather up your ingredients, roll up those sleeves, and dive into the world of bread baking. Step by step, you’ll see the dough transform into beautifully shaped rolls, and the smell of fresh-baked Kaiser rolls wafting from your oven will fill your home with warmth and comfort.
And trust me, once they’re out of the oven, it’s game over! Your family and friends won’t be able to resist asking for seconds (or even thirds). Whether you’re serving them as the centerpiece of a meal or a side to complement your favorite dishes, these rolls are always a hit.
Want to learn more? Explore Authentic Techniques for Artisan Bread or check out Perfect Pairings with Freshly Baked Rolls for even more inspiration.
Happy baking—you’ve got this!

