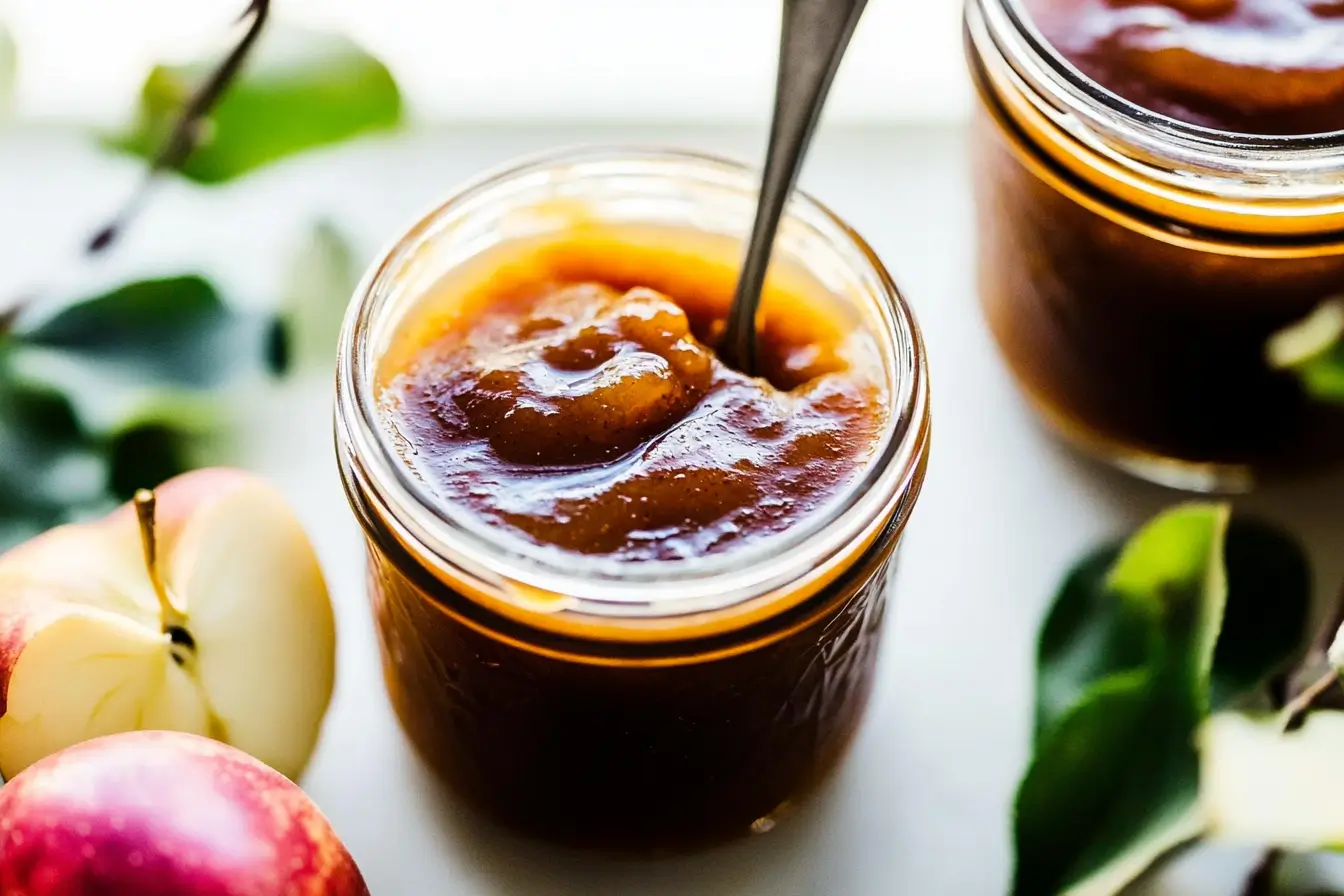
Apple butter canning is one of the coziest kitchen traditions you can bring into your home—nothing beats the smell of apples simmering with cinnamon and cardamom on a crisp fall day. This homemade apple butter recipe is all about smooth texture, deep apple flavor, and that satisfying moment when the lid pops as your jars seal.
Whether you’re team toast, biscuit dunker, or sweet potato cornbread spreader (seriously, try it with this cornbread recipe), you’re gonna love having these jars tucked in your pantry all year long.
Let’s make apple magic happen.
Table of Contents
Why You’ll Love This Apple Butter Canning Recipe
- Silky smooth texture (thanks to a food mill or blender)
- Deep, caramelized apple flavor
- Perfectly spiced with cinnamon and cardamom
- Stores beautifully when canned—hello, fall flavors in February
Plus, canning means you’re not just making a spread—you’re making homemade gifts, weekday toast upgrades, and secret ingredients for next-level recipes like this.
What You’ll Need for Homemade Apple Butter
Ingredients:
| Ingredient | Amount |
|---|---|
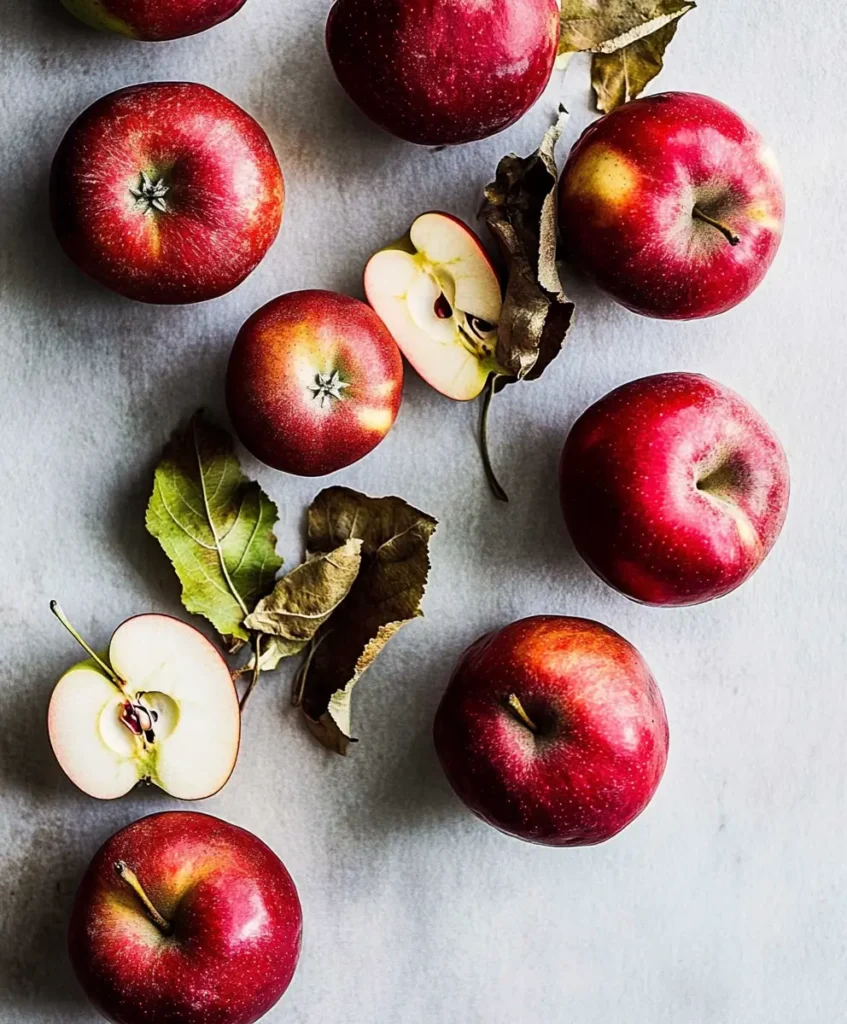
| Apples (Cortland, Honeycrisp, etc.) | 4 pounds |
| Water | 2 cups |
| Organic Cane Sugar | 1 ¾ cups |
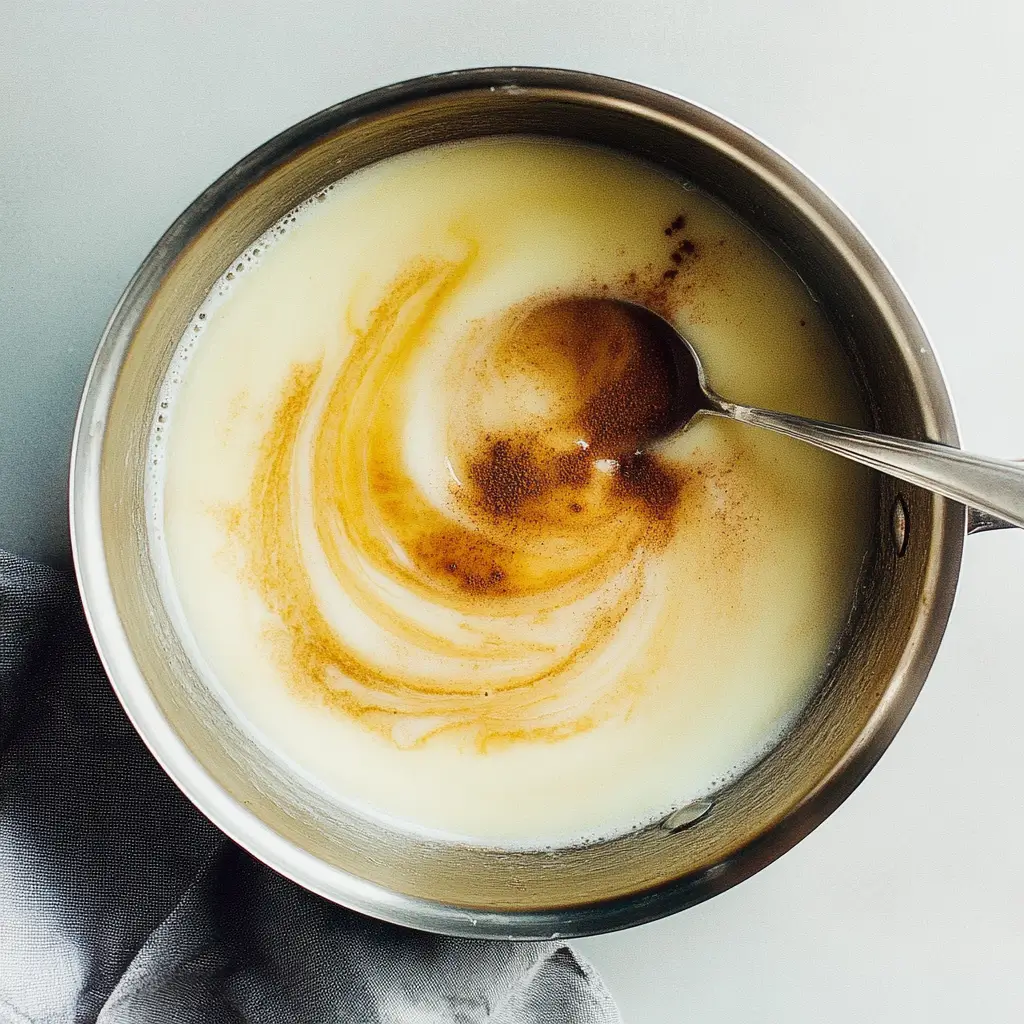
| Ground Cinnamon | 2 tsp |
| Ground Cardamom | ½ tsp |
Equipment:
- Large saucepan
- Food mill or high-speed blender
- 5–6 half-pint jars with lids
- Water bath canning pot
- Jar lifter
Best Apples for Making Apple Butter
You want apples that bring both flavor and sweetness. Cortland, Liberty, Sweet 16, Pink Lady, and Honeycrisp are excellent choices. Want a richer depth? Mix and match!
How to Make Apple Butter Canning (Step-by-Step Guide)

- Prep the Apples
Peel, core, and quarter your apples. - Simmer Until Soft
Add apples and water to a large saucepan. Simmer until tender and fragrant. - Puree to Smooth
Use a food mill for classic texture or a high-speed blender for silky smoothness. - Add Sugar & Spices
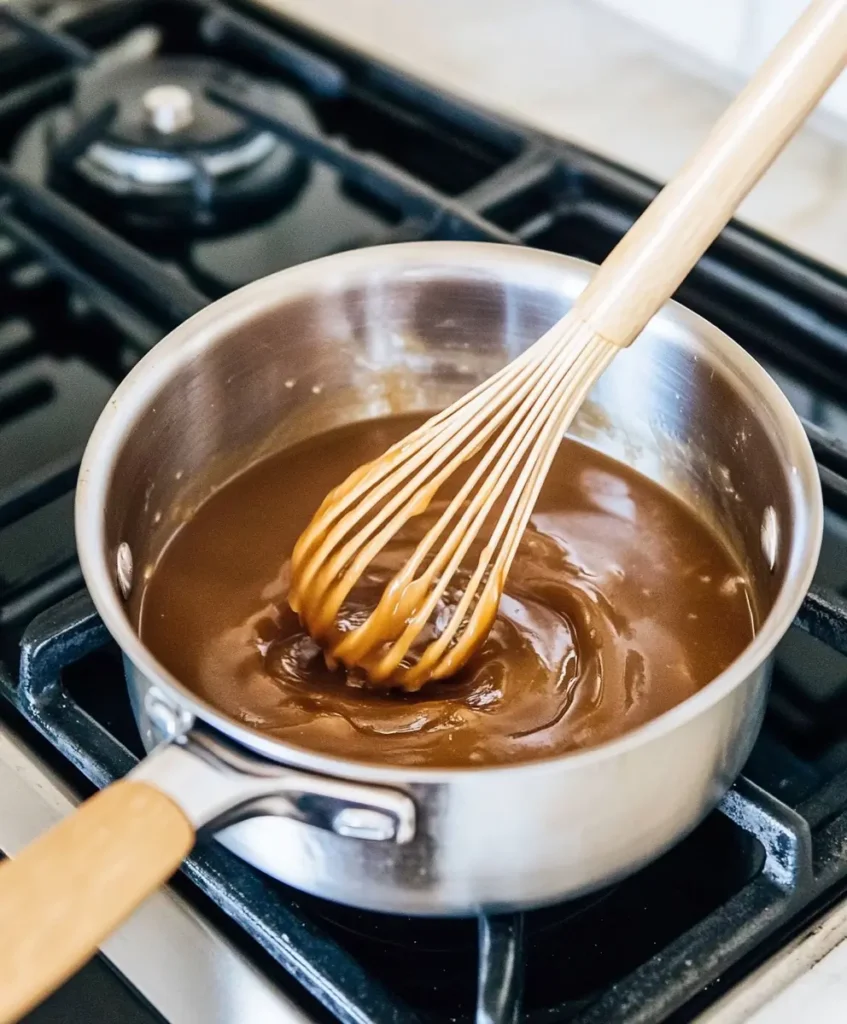
Return the puree to the pan. Stir in sugar, cinnamon, and cardamom. Stir until dissolved. - Cook Down to Rich Goodness
Let it gently boil over medium heat, stirring often. You want it thick enough to mound on a spoon. This is where the magic happens—don’t rush it.
Water Bath Canning: Preserve Apple Butter Like a Pro
- Prep Your Jars
Sterilize your jars in simmering water while the apple butter finishes cooking. - Fill ‘Em Up
Ladle hot apple butter into jars, leaving ¼ inch of headspace. Remove air bubbles and wipe rims. - Seal & Process
Apply lids, tighten bands to fingertip tight, then process in boiling water for 15 minutes (adjust for altitude). - Cool & Check Seals
Let jars sit in the pot for 5 minutes, then remove and cool undisturbed for 12–24 hours. Check for that satisfying pop!
Tips for Smooth, Caramelized Apple Butter
- Low and slow wins the race—don’t rush the cookdown.
- A food mill gives that old-school texture, but a blender gets you ultra-smooth results.
- Stir often, especially toward the end, to prevent scorching.
How to Store and Use Your Apple butter canning
Once cooled and sealed, your jars will keep up to a year in a cool, dark place. Refrigerate after opening.
Ideas to try:
- Spread on biscuits or sweet potato cornbread
- Swirl into oatmeal
- Glaze meats (like these apple honey-glazed chicken tenders)
- Bake into brioche rolls
- Use in sweet spreads like these deviled strawberries
FAQs About Apple Butter Canning
Is apple butter safe for canning?
Yes when done properly using a tested recipe and water bath method, apple butter is safe for home canning.
How long does apple butter last if you can it?
Up to a year in a cool pantry. Always check the seal before using.
What is the headspace for apple butter canning?
¼ inch. This helps ensure a proper vacuum seal.
Can you can fruit butters?
Absolutely! Fruit butters like apple, pear, or even pumpkin can be safely canned using water bath methods if properly prepared.
That’s a Wrap!
You’ve got jars of fall-ready flavor and the know-how to make it happen again and again. Feel free to swap in other apple varieties, tweak the spice levels, or even experiment with adding a splash of vanilla.
Your kitchen’s gonna smell amazing.
Your pantry’s about to be stacked.
You’ve got this!
Want to try more canning? Check out our canned cherries and cranberries recipe for another pantry staple!