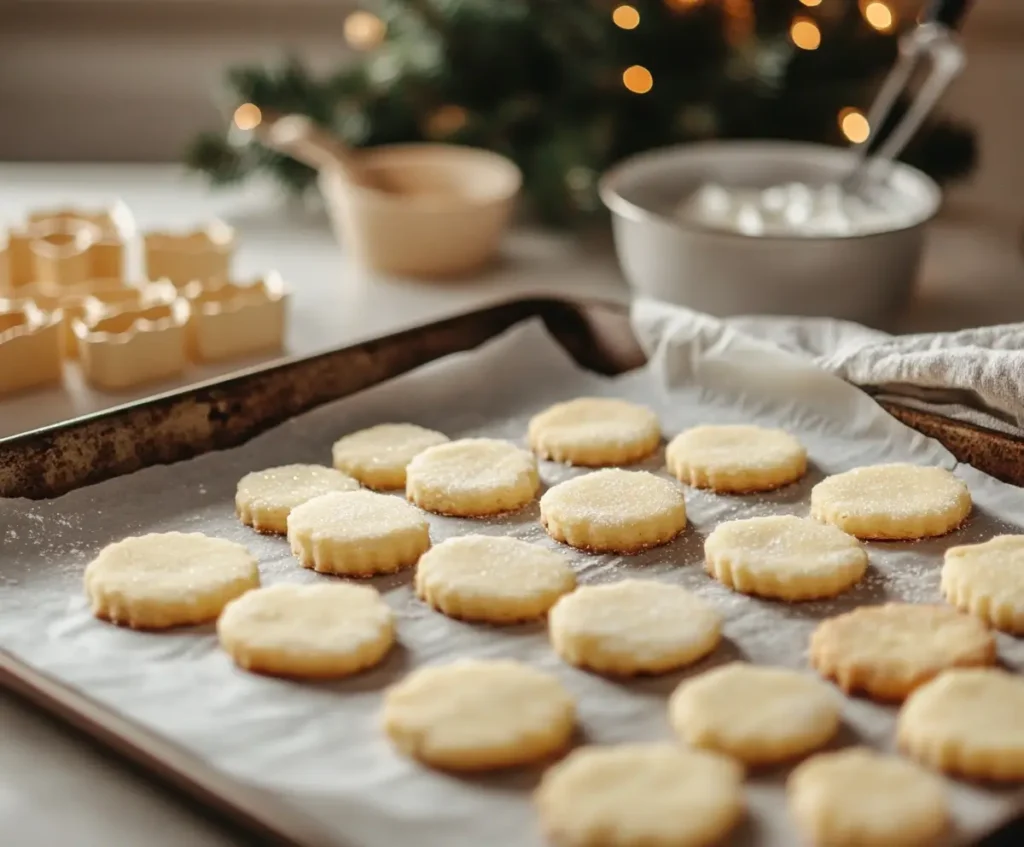
Let’s talk about Christmas cookies, y’all. If there’s one thing that screams holiday cheer louder than a house decked out in twinkling lights, it’s the smell of cookies baking in the oven. Whether you’re whipping up a batch of sugar cookies to decorate with the kids or prepping a fancy cookie platter for the neighbors, there’s just something magical about the process. Today, I’m diving headfirst into all things cookie Christmas because let’s face it, the holidays just aren’t complete without these sweet treats.
Table of Contents
Why Christmas Cookies Are a Holiday Staple
Okay, first off, why are we all so obsessed with Christmas cookies? It’s more than just sugar and butter, folks. These cookies are wrapped up in nostalgia, family traditions, and a whole lot of love. Whether it’s the classic sugar cookie recipe passed down from your grandma or a new one you found online, there’s a story baked into every batch.
For me, Christmas cookies bring back memories of flour-dusted counters, sticky hands from rolling out dough, and laughing over the most hilariously decorated cookies (usually the ones where the frosting runs wild). Plus, they make the perfect edible gift. Pop them in a festive tin, and boom—you’re everyone’s favorite person.
But enough chatting. Let’s get to the good stuff.
Christmas Sugar Cookies with Easy Icing
Let’s kick things off with the MVP of cookie Christmas—the sugar cookie. These babies are soft in the middle, crisp on the edges, and totally customizable. You can ice them, sprinkle them, or leave them plain (but seriously, why would you?). Plus, they’re easy to make, even if you’re not a pro baker.
What Makes These Sugar Cookies Special?

Here’s the deal: Not all sugar cookies are created equal. Some are too crunchy, some are too soft (yes, it’s a thing), and some just taste…meh. But this recipe? It nails the balance. You get that perfect soft-but-not-doughy center and edges that have just the right amount of snap. Oh, and the icing? It’s shiny, smooth, and hardens just enough so you can stack the cookies without smudging your masterpieces.
Ingredients for Cookie Christmas Magic
Here’s what you’ll need for the dough:
- Flour (all-purpose works best—don’t get fancy).
- Butter (room temperature is key, y’all).
- Granulated Sugar (because, duh, they’re sugar cookies).
- Eggs (adds richness and helps everything hold together).
- Vanilla Extract (get the good stuff—it makes a difference).
- Baking Powder (for that slight puff).
- Salt (don’t skip it; it balances the sweetness).
And for the icing:
- Confectioners’ Sugar (aka powdered sugar—don’t sub it).
- Corn Syrup (makes the icing shiny).
- Milk or Water (for consistency).
- Vanilla Extract (flavor explosion).
Step-by-Step Instructions


- Cream Butter and Sugar: Use a stand mixer (or a handheld one if you’ve got arm muscles) to cream your butter and sugar until it’s light and fluffy. This step is non-negotiable if you want cookies that melt in your mouth.
- Add Wet Ingredients: Toss in the eggs and vanilla. Mix it up until everything’s smooth and dreamy.
- Dry Ingredients Party: Slowly add your flour, baking powder, and salt. Pro tip: Don’t dump it all in at once unless you’re into flour clouds. Mix until it just comes together—don’t overdo it.
- Roll and Chill: Roll your dough between two sheets of parchment paper. This trick keeps it smooth and less sticky. Pop it in the fridge for an hour or two to firm up. (Trust me, this step saves you from cookie chaos later).
- Cut and Bake: Preheat your oven to 350°F. Grab your favorite cookie cutters—stars, trees, snowflakes, you name it—and cut out your shapes. Bake for about 8–10 minutes or until the edges just start to brown. Let them cool completely before decorating (unless you like icing puddles).
Icing 101
Now for the fun part – decorating! Mix your icing ingredients until smooth. If it’s too thick, add a tiny splash of milk. If it’s too runny, add more powdered sugar.
Divide the icing into bowls and add food coloring if you’re feeling fancy. Use a piping bag or even a zip-top bag with the corner snipped off to decorate.
Pro Tips for Sugar cookie Christmas Success
- Roll Dough Before Chilling: This hack makes it so much easier to cut out shapes without your dough cracking.
- Use Room Temp Butter: Cold butter won’t cream properly, and melted butter will make your dough greasy.
- Rotate Trays: Midway through baking, swap your trays from top to bottom. This helps the cookies bake evenly.
- Don’t Skip the Chill: I know you’re tempted, but skipping the chill step means your cookies might lose their shape in the oven. Nobody wants blob cookies.
Vanilla Christmas Biscuits (No Chill!)
If you’re in a rush (and let’s be real, who isn’t during the holidays?), this recipe is for you. These vanilla biscuits are like sugar cookies’ laid-back cousin. They’re just as delicious, but the dough doesn’t need chilling. Yep, you heard me—no chill time required.
Why You’ll Love These Cookie Christmas
Not only do they save you time, but they also hold their shape beautifully, so your cookie cutters can shine. Plus, they’re versatile—you can decorate them with icing, dip them in chocolate, or sprinkle them with sanding sugar. Basically, they’re the MVPs of last-minute baking.
Ingredients and Quick Tips
- Flour, Butter, Sugar, Eggs, Vanilla, Baking Powder, and Salt: Same pantry staples as sugar cookies.
- Optional Add-Ins: Swap vanilla for almond extract, or add a pinch of cinnamon for a cozy vibe.
Easy Steps to Follow
- Mix the Dough: Cream butter and sugar, add your wet ingredients, then slowly mix in the dry stuff.
- Roll and Cut: No chilling means you can roll and cut the dough right away. Roll it about ¼ inch thick for the best results.
- Bake: Pop them in a 350°F oven for 8–10 minutes. Keep an eye on them—no one wants burned edges.
- Decorate or Devour: Let them cool before decorating, or skip the icing altogether if you’re short on time.
Storage Tips
Store these cookies in an airtight container at room temperature for up to a week. If you’re making them ahead, freeze the baked cookies (undecorated) and thaw them before decorating. They’ll taste just as fresh.
Final Thought: Cookie Christmas Is All About Fun
Here’s the thing—whether you’re baking fancy sugar cookies or whipping up quick vanilla biscuits, the best part of a cookie Christmas is the joy it brings. It’s not about perfection (though let’s be honest, a perfectly iced cookie is pretty satisfying). It’s about the memories you make along the way—whether it’s giggling over messy sprinkles or sneaking bites of raw dough (no judgment).
The Best Rolled Sugar Cookie Christmas
Now, let’s get fancy with rolled sugar cookies. These are the go-to cookies if you want to break out your festive cutters and make intricate shapes. They’re classic, reliable, and perfect for any holiday cookie platter. Plus, they’re a blank canvas for all kinds of decorating ideas, so the sky’s the limit!
Why Rolled Sugar Cookie Christmas Are a Classic
Rolled sugar Cookie Christmas are like the little black dress of holiday baking. They’re simple yet elegant, and you can dress them up however you like. What makes these cookies special is their consistency – they hold their shape when baked and have a light, buttery flavor that everyone loves.
Key Ingredients for Rolled Sugar Cookie Christmas
You’ll need the usual suspects for this recipe:
- Flour: Keeps the dough sturdy enough to roll out and cut.
- Butter: Cream it until fluffy for the best texture.
- Granulated Sugar: Sweetness in every bite.
- Eggs: The glue that holds everything together.
- Vanilla Extract: Adds a hint of sweetness and depth.
- Salt and Baking Powder: For balance and just the right lift.
Pro tip: Sift your dry ingredients to avoid lumps and get that smooth, even dough.
Step-by-Step Instructions
- Cream Butter and Sugar: Start by creaming the butter and sugar until it’s pale and fluffy. This step is where the magic happens for that light texture.
- Mix Wet and Dry Ingredients: Add in the eggs and vanilla, then slowly incorporate the dry ingredients. Make sure everything is combined but don’t overmix, or your cookies might turn out tough.
- Chill the Dough: This is non-negotiable, folks. Wrap the dough in plastic and let it chill for at least an hour. Chilling helps the dough firm up so you can roll and cut it without a sticky mess.
- Roll and Cut: On a floured surface, roll the dough to about ¼ inch thick. Use your favorite cutters to create shapes—stars, trees, candy canes, you name it.
- Bake: Place the cookies on a parchment-lined baking sheet and bake at 350°F for 6–8 minutes. Rotate the trays halfway through for even baking.
- Cool and Decorate: Let the cookies cool completely before decorating. This is where you can unleash your creativity!
Pro Tips for Rolling Sugar Cookies
- Use Parchment Paper: Rolling dough between parchment prevents sticking and makes cleanup a breeze.
- Don’t Skip the Chill: Warm dough is a recipe for disaster. Trust me, it’s worth the wait.
- Flour Your Cutter: Dip your cookie cutter in flour to prevent it from sticking to the dough.
Decorating Your Christmas Cookies Like a Pro
Here’s where things get fun. Decorating Christmas cookies is the ultimate holiday activity, whether you’re going solo or making it a family affair. From simple sprinkles to intricate royal icing designs, there are endless ways to jazz up your cookies.
Icing Techniques
- Royal Icing: This is the gold standard for detailed decorations. It dries hard, making it perfect for intricate designs. Use different consistencies for outlining and flooding the cookie.
- Glaze Icing: If you’re short on time, this shiny glaze is easy to whip up and makes your cookies look polished without much effort.
- Chocolate Drizzle: Melt some chocolate and drizzle it over your cookies for a decadent touch.
Decorating Tips
- Use Toothpicks: A toothpick is your best friend for spreading icing into tight corners or creating swirls.
- Go Heavy on the Sprinkles: There’s no such thing as too many sprinkles.
- Try Edible Glitter: It’s Christmas, after all—why not add a little sparkle?
- Let Icing Set: Give your cookies time to dry before stacking or storing them.
How to Build the Ultimate Cookie Christmas Platter
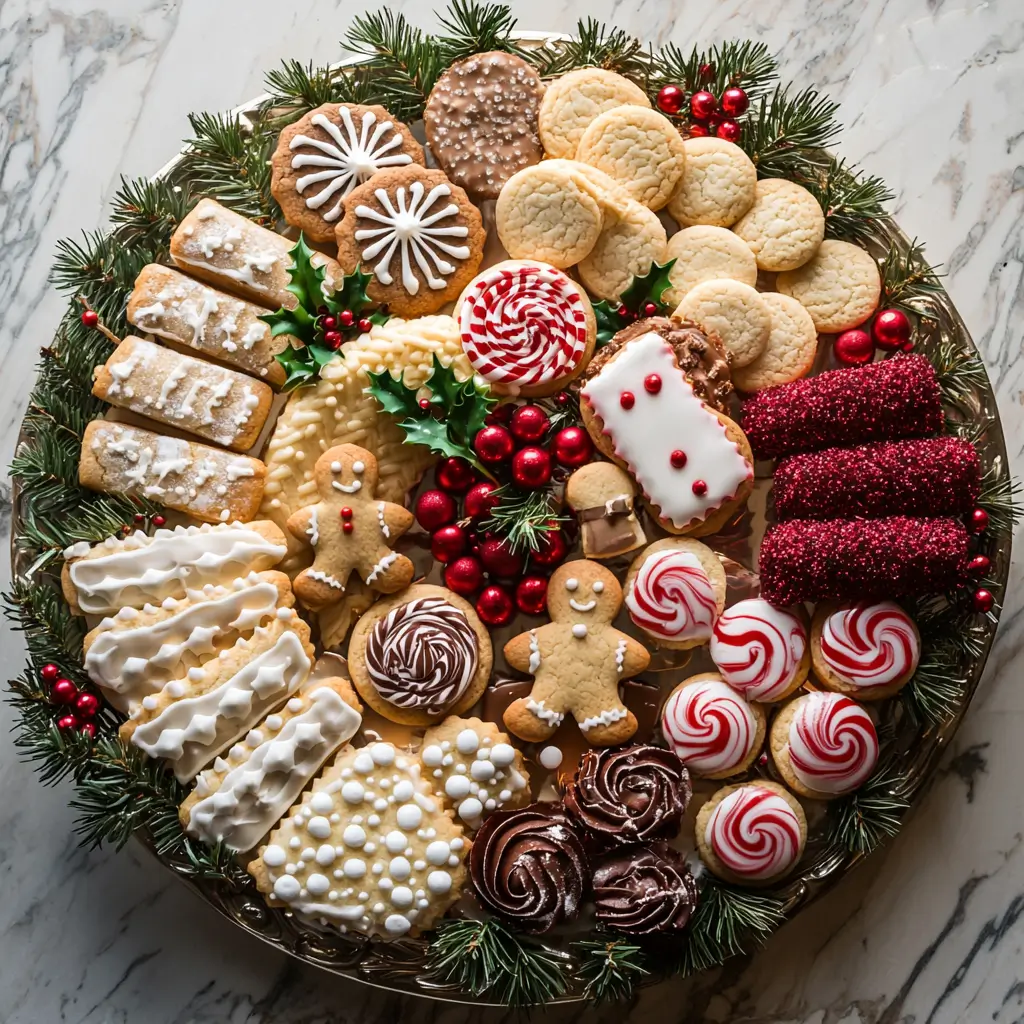
If you really want to wow your guests or neighbors, a cookie platter is the way to go. It’s not just about sugar cookies—mix in a variety of textures and flavors to keep things interesting.

Here’s how to do it:
Snowball Cookies: Finally, don’t forget to include these light and nutty treats. They’re bite-sized perfection!
Classic Sugar Cookies: Always a crowd-pleaser, these are not only the base for any great platter but also a versatile option that everyone loves.
Chocolate-Dipped Cookies: Next, add a touch of indulgence with cookies dipped in smooth, melted chocolate.
Peppermint Bark: To round out your platter, consider including a festive peppermint bark. Try this recipe for high-protein peppermint bark for a healthier option that still feels indulgent. It complements the cookies beautifully and adds variety to the mix.
Gingerbread Men: Meanwhile, gingerbread cookies bring a classic, spicy twist that everyone loves.
Mix Up the Types of Cookie Christmas
- Classic Sugar Cookies: Always a crowd-pleaser.
- Chocolate-Dipped Cookies: Add a touch of indulgence.
- Gingerbread Men: A spicy, festive twist.
- Thumbprint Cookies: Fill them with jam or chocolate for a pop of color.
- Snowball Cookies: Light and nutty, these are the perfect bite-sized treats.
Presentation Tips
- Use Levels: Arrange cookies on tiered trays for a fancy look.
- Add Festive Elements: Sprinkle in some candy canes, pine branches, or even mini ornaments for decoration.
- Label Your Cookies: If you’re hosting a party, add cute labels so people know what they’re grabbing.
Storage Tips for Your Christmas Cookies
No one wants stale cookies, so let’s talk about keeping them fresh.
- Airtight Containers: Store cookies in airtight tins or plastic containers. Separate layers with parchment paper to prevent sticking.
- Freeze the Dough: If you’re planning ahead, freeze the cookie dough instead of baking it all at once. Thaw it overnight in the fridge before rolling and baking.
- Freeze Decorated Cookies: Yes, you can freeze fully decorated cookies! Just make sure the icing is completely dry, then layer them in a freezer-safe container with parchment paper.
Wrapping Up: Make This Christmas a Cookie Christmas !
There you have it, folks—a complete guide to making your cookie Christmas dreams come true. Whether you’re rolling out intricate sugar cookies, whipping up no-chill vanilla biscuits, or building an epic holiday cookie platter, the key is to have fun and embrace the mess. Because honestly? That’s what makes the memories last.
FAQs About Cookie Christmas
What is the most popular cookie during Christmas?
Gingerbread cookies and sugar cookies are the top contenders, loved for their festive flavors and decorating possibilities.
What is the best cookie to decorate for Christmas?
Sugar cookies are the best for decorating because they hold their shape well and pair perfectly with royal icing.
What is the most popular cookie to give to Santa?
Most kids leave sugar cookies or chocolate chip cookies for Santa, usually with a glass of milk.
What makes a cookie a Christmas cookie?
Christmas cookies are special because they’re made with seasonal flavors, festive shapes, and colorful decorations.
They’re also a big part of holiday traditions and family gatherings!


