Introduction: The Magic of DIY Chocolate Bars
Who doesn’t love a good chocolate bar? Whether you’re unwrapping one for a mid-day pick-me-up or giving a beautifully packaged one as a gift, chocolate bars are the ultimate treat. But here’s the best part—you can make your own at home! Forget store-bought options loaded with preservatives and extra sugar. With homemade chocolate bars, you’re in control of everything from ingredients to presentation.
Picture this: creamy, smooth chocolate mixed with your favorite toppings, wrapped in craft paper, and tied with a velvet ribbon. DIY chocolate bars are fun, easy to customize, and perfect for gifting on holidays or special occasions. If you enjoy experimenting with chocolate-based desserts, be sure to check out this truffle chocolate recipe for more indulgent creations.
And don’t forget to play around with different chocolate varieties, like white chocolate, for even more fun! This cream cheese white chocolate recipe has some great ideas if you’re craving a twist on classic flavors. Trust me, once you start, you’ll wonder why you ever settled for anything less. Ready to craft some magic? Let’s dive into the delicious details.
Why You Should Make Your Own Chocolate Bars
Cost-Effectiveness vs. Store-Bought Bars
Making your own chocolate bars can be surprisingly affordable. Think about how much you’d spend on premium options like dandelion chocolate or artisanal bars from the grocery store. By sourcing quality ingredients in bulk Like cacao butter and raw cacao powder you can whip up gourmet treats without breaking the bank.
Complete Control Over Ingredients
Whether you’re aiming for a vegan, dairy-free, or keto-friendly dessert, homemade bars give you full control. Skip the additives and go for clean, wholesome ingredients like coverture chocolate or organic sweeteners like coconut sugar.
Perfect for Gifting and Parties
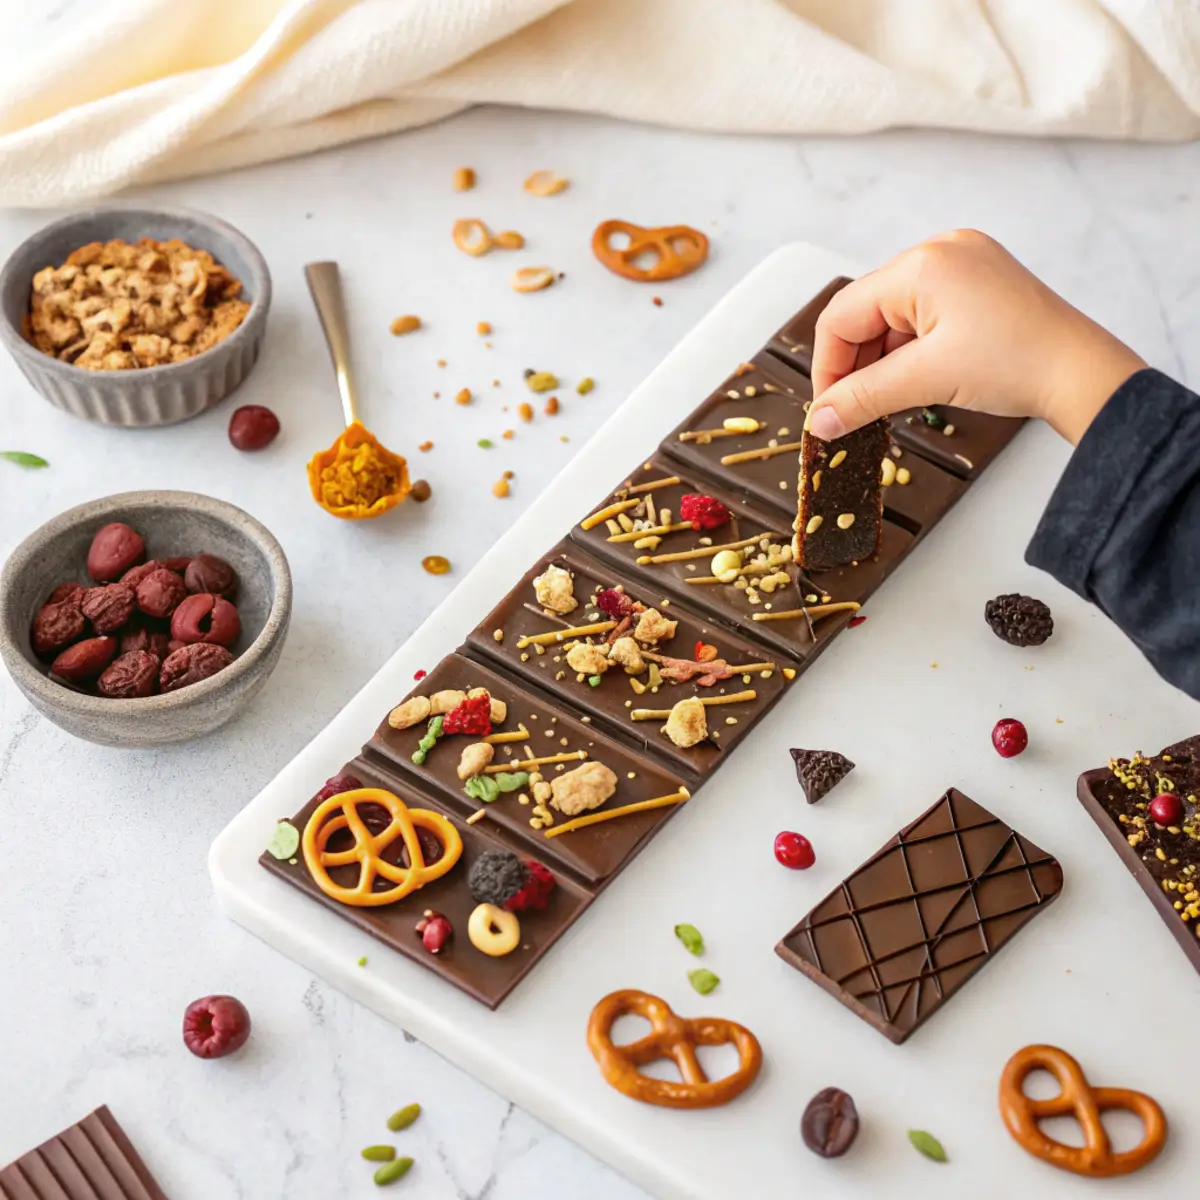
Imagine setting up a build-your-own chocolate bar station at your next party. Guests can customize their bars with toppings like candied bacon or freeze-dried raspberries. Or, create personalized gift wraps and notes for holiday treats. You’ll be the most popular gift-giver around!
The Benefits of Customization
Why stick to plain chocolate bars when you can craft combinations as wild or simple as you’d like?
- Unlimited Flavor Combos: Mix crunchy pretzels, gooey caramel drizzle, or even exotic spices like cinnamon and chili flakes.
- Healthier Options: Opt for lower sugar versions with vegan chocolate, paleo-friendly sweeteners, and nutrient-packed toppings like almonds or pistachios.
- Unique Presentations: Personalized bars wrapped with custom labels or gift tags add a thoughtful touch.
- This step might seem extra, but trust me it’s worth it when you see the smiles on your guests’ faces.
Essential Ingredients for Homemade Chocolate Bars
Core Ingredients
- Cacao Butter: Provides that rich, melt-in-your-mouth texture.
- Cacao or Cocoa Powder: The base of any great chocolate bar.
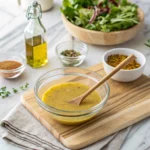
- Sweeteners: Use maple syrup, coconut sugar, or honey to balance bitterness.
Toppings and Flavor Enhancers
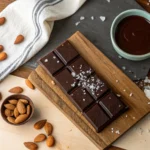
- Nuts and Seeds: Try almonds and sea salt or pistachios for crunch.
- Dried Fruits: Freeze-dried strawberries and raspberries add bursts of flavor.
- Extra Goodies: Consider crushed waffle cones, mint Oreos, or even candied bacon.
Choosing the Right Chocolate Base
Dark Chocolate (70–85% Cacao)
Rich, complex, and perfect for those who love bold flavors. The high cacao content provides antioxidants, making it a healthier pick.
Milk Chocolate (30–45% Cacao)
Creamy, sweet, and kid-friendly. Add toppings like caramel drizzle or pretzels for a classic candy bar feel.
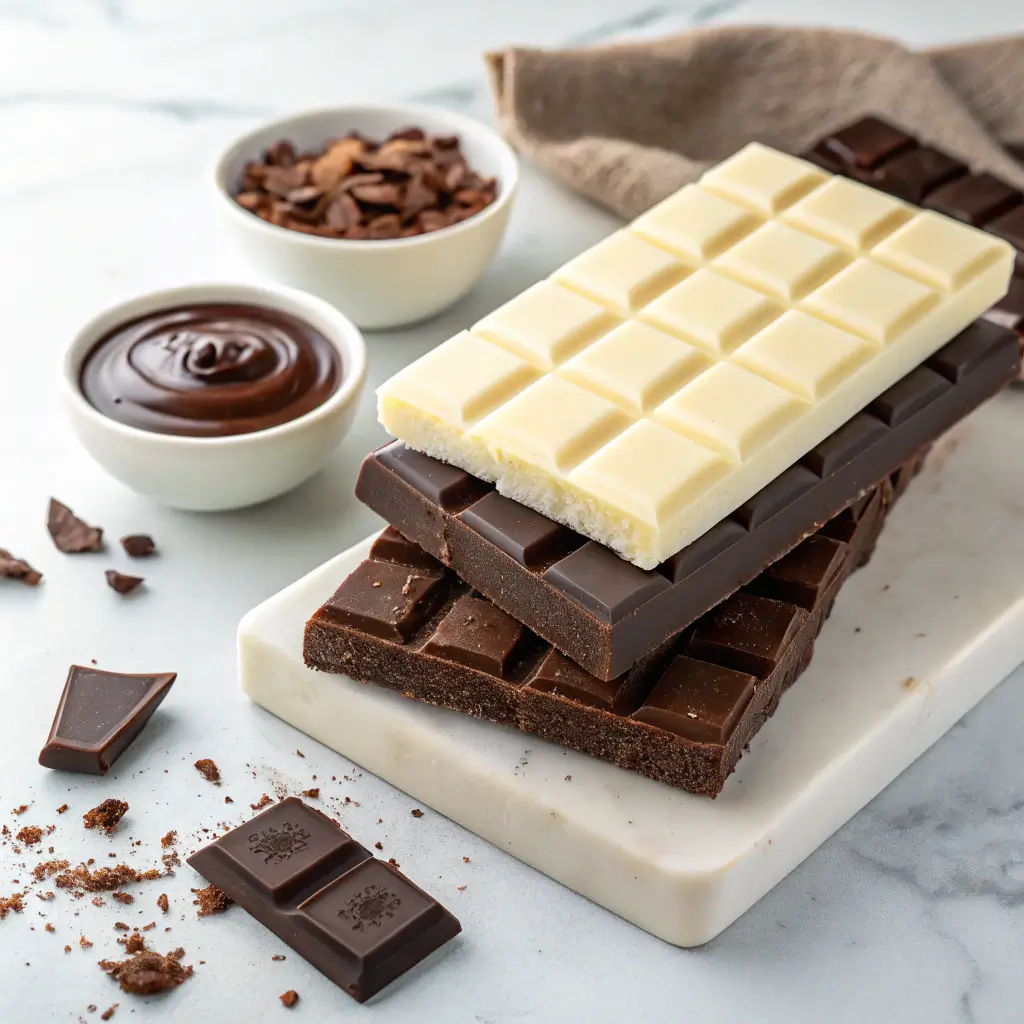
White Chocolate
Made with cacao butter but without cocoa solids, it’s smooth and pairs well with bright toppings like dried mango or coconut flakes.
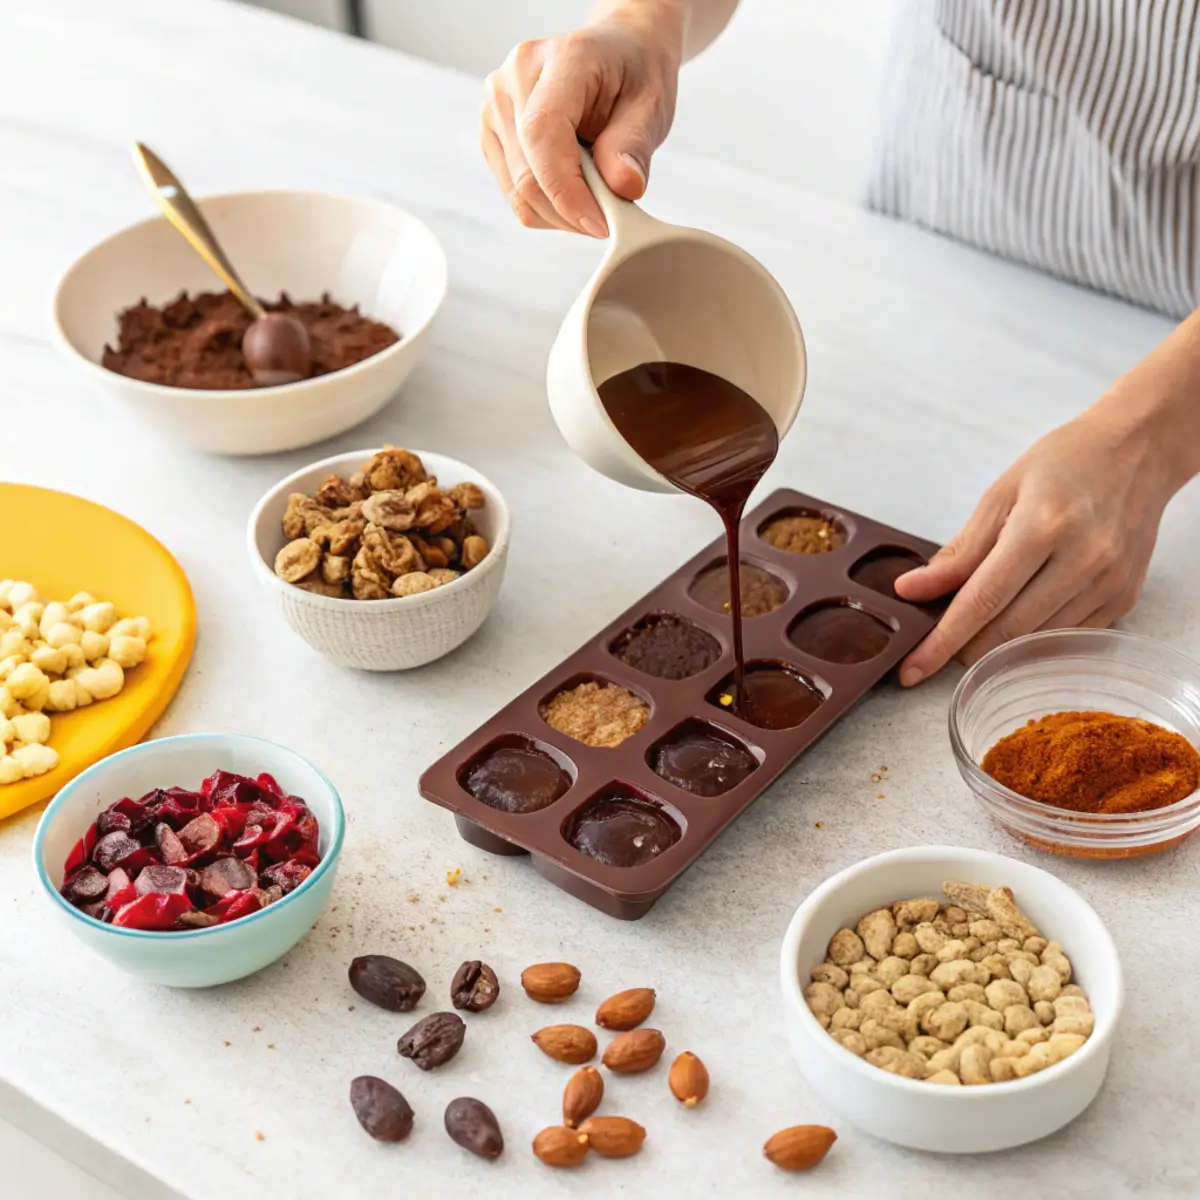
Step-by-Step Guide: How to Make Homemade Chocolate Bars
- Melt the Chocolate: Use a double boiler to melt the chocolate evenly, or microwave in short bursts to prevent burning.
- Add Sweeteners and Flavorings: Stir in your choice of sweetener and any extracts like vanilla or peppermint.
- Temper the Chocolate: This is key for a glossy finish. Use a candy thermometer to maintain the right temperature.
- Pour into Molds: Grease silicone molds lightly for easy removal.
- Set and Cool: Let the bars set at room temperature before transferring them to the fridge.
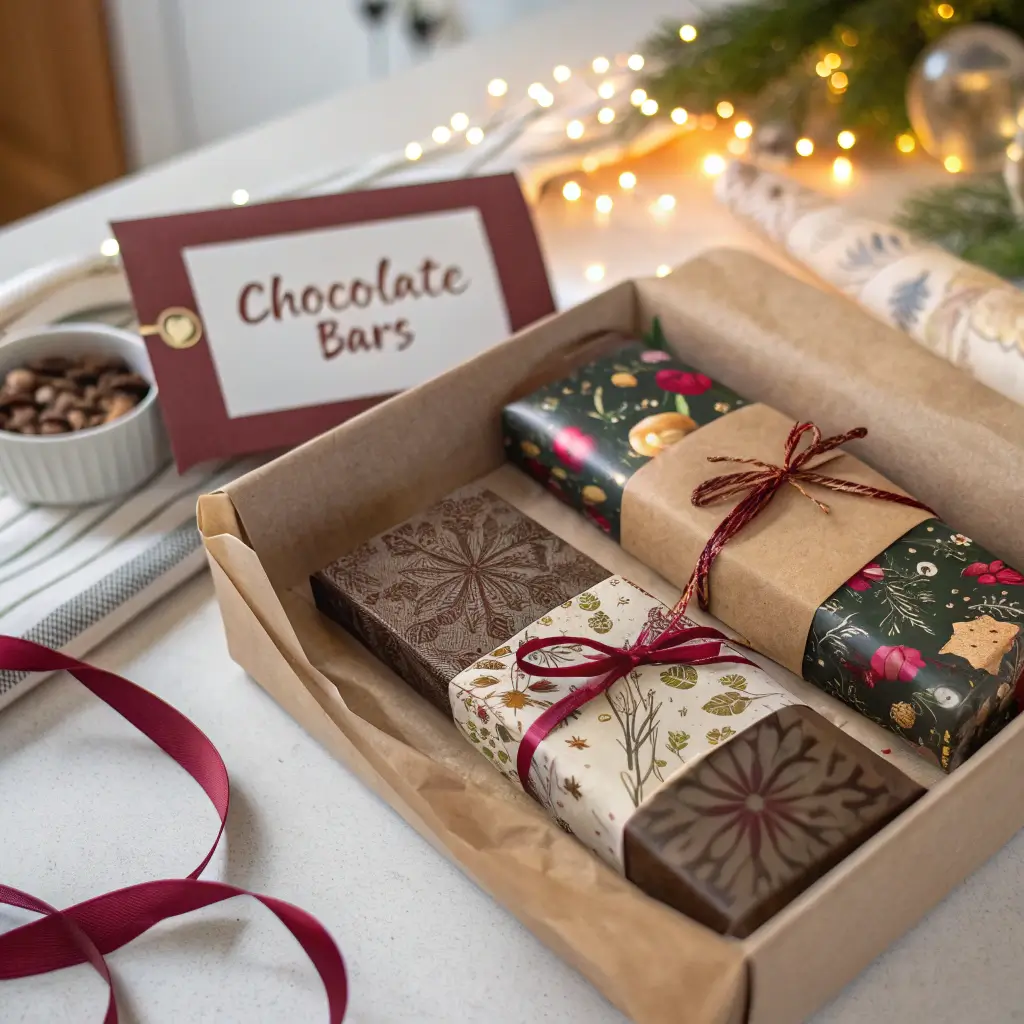
Wrapping and Gifting Your Homemade Chocolate Bars
Handmade Decorative Wraps
Use foil, parchment paper, or custom DIY chocolate wraps. Tie them with velvet ribbons for that extra special touch.
Creative Packaging
Gift boxes, reusable pouches, or cellophane bags work well. Don’t forget to add a printable gift tag for personalization.
Personalized Notes
Include sweet messages, fun facts about the toppings, or even the occasion you’re celebrating.
Customization Ideas: Chocolate Bar Topping Combinations
| Combination | Toppings Included |
|---|---|
| Crunchy Delight | Pretzels, peanuts, caramel drizzle |
| Tropical Fusion | Dried mango, coconut flakes, macadamia nuts |
| Berry Explosion | Freeze-dried raspberries, dark chocolate chips |
| Spiced Indulgence | Cinnamon, chili flakes, and sea salt |
Recipe Card: Easy Homemade Chocolate Bars
Print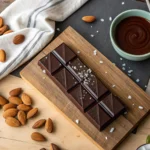
Homemade Chocolate Bars Recipe Card
- Total Time: 20 minutes
- Yield: 6–8 bars 1x
- Diet: Vegetarian
Description
These homemade chocolate bars are rich, creamy, and fully customizable. Add your favorite toppings like nuts, dried fruits, or spices to create a unique treat. Perfect for gifting or indulging at home, they’re healthier than store-bought options and fun to make.
Ingredients
- 200g cacao butter (or substitute with high-quality cocoa butter)
- 150g cacao powder (unsweetened for dark chocolate)
- 100g powdered sweetener (coconut sugar, honey, or monk fruit for a healthier twist)
- 1 tsp vanilla extract (optional for enhanced flavor)
- A pinch of sea salt (optional, to balance sweetness)
- Toppings (optional):
- Crushed almonds, hazelnuts, or pistachios
- Dried fruits (cranberries, mango, or blueberries)
- Sea salt flakes, caramel swirls, or shredded coconut
Instructions
- Melt the cacao butter in a double boiler or heatproof bowl set over simmering water, stirring until fully melted.
- Remove from heat and sift in the cacao powder, stirring continuously to avoid lumps.
- Add sweetener and vanilla extract, mixing until smooth and glossy.
- Temper the chocolate if you want a glossy, firm finish (this step prevents chocolate from blooming).
- Pour the chocolate mixture into silicone molds or a lined baking tray, ensuring even distribution.
- Add your chosen toppings by sprinkling them over the chocolate before it sets.
- Let the bars set in the fridge for 1–2 hours, or until firm.
- Once set, remove from molds or slice into bars. Wrap as desired and enjoy!
Notes
- For a vegan option, ensure the sweetener and toppings are plant-based.
- Store in an airtight container at room temperature or refrigerate for longer shelf life.
- Adjust the cacao powder and sweetener ratio to achieve your desired level of bitterness or sweetness.
- Prep Time: 10 minutes
- Cook Time: 10 minutes
- Category: Dessert
- Method: No-Bake
- Cuisine: International
Nutrition
- Serving Size: 1 bar
- Calories: 180
- Sugar: 6g
- Sodium: 15mg
- Fat: 15g
- Saturated Fat: 9g
- Unsaturated Fat: 5g
- Trans Fat: 0g
- Carbohydrates: 12g
- Fiber: 4g
- Protein: 2g
- Cholesterol: 0mg
Keywords: homemade chocolate bars, DIY chocolate bars, healthy chocolate bars, customizable chocolate bars
Common Mistakes and How to Avoid Them
Overheating the Chocolate
Watch the temperature to avoid grainy texture.
Not Tempering Properly
Skipping this step could lead to chocolate bloom, those white streaks on your bars.
Using Low-Quality Ingredients
Invest in coverture chocolate for the best results.
Tips for Storing and Preserving Homemade Chocolate Bars
Keep your bars in a cool, dry place. Wrap them in foil or parchment paper, then store them in an airtight container. For long Term storage, refrigerate for up to 3 months.
Health Benefits of Homemade Chocolate Bars
Dark chocolate is packed with antioxidants that support heart health, making it a delicious and beneficial treat. For a fun twist on flavored treats, consider trying some peppermint bark inspiration alongside your homemade bars.
Nuts and seeds aren’t just crunchy—they’re loaded with protein, fiber, and healthy fats that make every bite more satisfying. Plus, low-sugar options help reduce the risk of sugar crashes, keeping your energy levels steady throughout the day. Customizing your bars with nutrient-rich ingredients has never been tastier!
Call to Action: Share Your Creations!
Don’t let your creativity go unnoticed! Post photos of your customized bars on social media and tag your friends
Conclusion: Get Ready to Indulge and Gift Like a Pro
Homemade chocolate bars are more than just treats—they’re little bundles of joy you can customize and gift. With countless topping possibilities and fun wrapping ideas, they’re a thoughtful, cost-effective way to make anyone’s day sweeter. Whether you’re adding crunchy pretzels or drizzling caramel, you can even draw inspiration from creative chocolate ideas like chocolate-covered potato chips for a sweet-and-savory twist.
If you’re thinking ahead to festive occasions, don’t miss out on creating holiday chocolate treats that pair beautifully with DIY bars. Time to grab your chocolate molds and get crafting!
FAQs About Homemade Chocolate Bars
How to make your own chocolate bars?
Melt your chocolate base, add sweeteners, temper it, and pour it into molds. Add toppings before cooling.
What can you put inside a chocolate bar?
Toppings like nuts, dried fruits, pretzels, caramel, or even candy cane pieces work beautifully.
What is the difference between a baking bar and a regular chocolate bar?
Baking bars have less sugar and more cocoa content, making them ideal for melting and desserts.
What chocolate is best for chocolate bars?
Go for dark chocolate (70% cacao) or milk chocolate for balanced flavor and smooth texture. For gifting, white chocolate with colorful toppings can be a standout choice.